You switch from a smartphone to a ‘real camera’ and it hits you like a blow: suddenly not everything works automatically and the setting options are confusing – so what should you know to get started?
Page Contents (click line to jump the text)
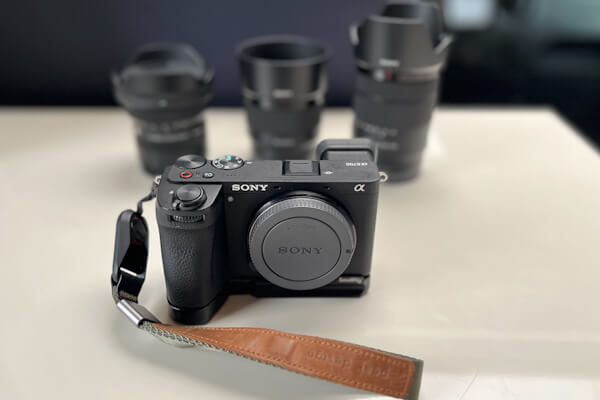
Intro
Back in the day, way back in the day, we took our parents’ discarded analogue compact camera (point-and-shoot), took a few photos and then at some point bought an SLR camera. Back then, they were still completely manual, or at most had a semi-automatic mode. Focussing or focusing was also manual.
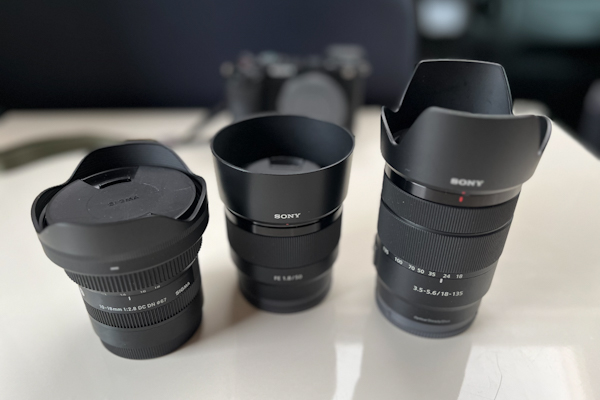
So we grew up with manual focus and the exposure triangle. We’ll get to what that is in a moment. You couldn’t take a photo without it back then. Light, colour and composition came later – if at all. If an image was sharp and correctly exposed, that was a good thing, because it was by no means a given.
I also had a small basement darkroom and developed my black and white photos myself.
Things are very different today, when most people are born with a smartphone and use it for years to take photos and record films. Sharpness – automatic, colours – automatic, exposure – automatic.
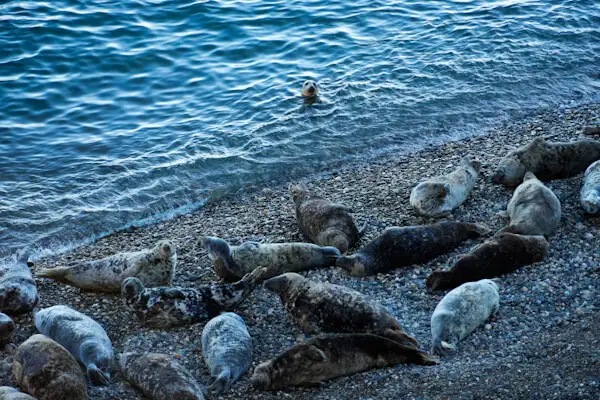
Perhaps, and this is incredibly good, a bit of conscious photography with composition and light and shadow is added.
Is that worse today? No, I think it’s better because most people are practically born with photography and learn a lot about it through social media – assuming they have the right interest.
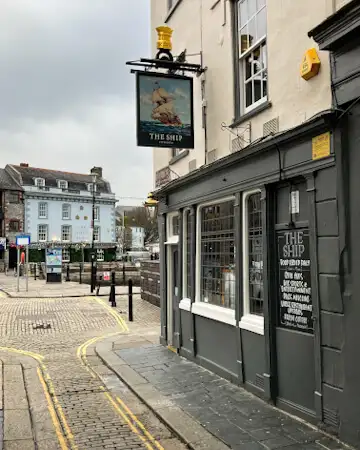
But at the latest when we switch to a system camera and when photography becomes a more serious hobby, we have to catch up on a few technical basics, otherwise the new camera won’t be of much use. I’m only talking about photography here, mainly for travelling, film is another matter.
In fact, the technical basics are very quick to learn, but will help you enormously – so let’s get started:
Settings for light and exposure
There are three components to the exposure of a photo: The shutter speed, the aperture and the ISO, or light sensitivity. For a harmonious exposure, you can have the camera set all three parameters automatically, similar to how your smartphone does it. But this limits your creative freedom, because…
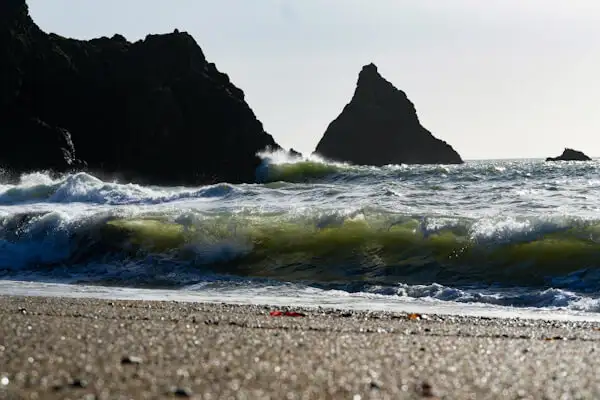
By selecting the shutter speed, i.e. the time in which the photo is actually taken and light falls around the camera sensor, you can add or remove movement from the image.
By adjusting the aperture, i.e. the size of the opening in the lens, you can set whether you want a lot of the image to be in focus or whether individual areas should be blurred.
With the ISO, you can set how sensitive the sensor should react to light, but also how much image noise (grainy, muddy image) you are prepared to accept.
Let’s take a closer look at these three parameters:
The Aperture
The aperture usually consists of 7-9 blades inside each lens. These blades form a more or less round opening through which the light passes and then, when it reaches the camera, is measured by the sensor and read out in the camera.
Think of the aperture as a more or less open gate: The wider open, the more light gets through. But it is also true that the wider the aperture, the less depth of field your image will have.
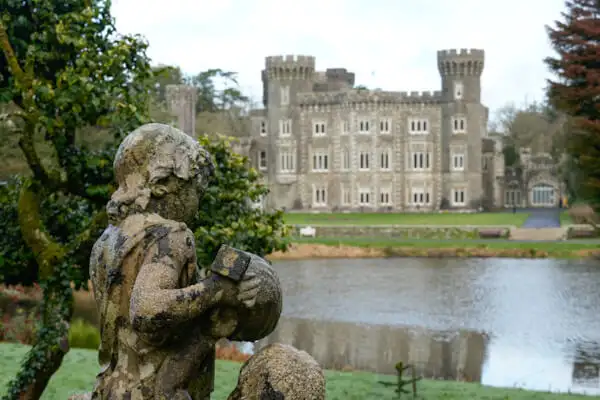
In a portrait, for example, you can use this to control whether the person and the background are in focus, whether the background is a little blurred or very blurred, or even whether only the person’s eyes are in focus and the ear is already blurred.
This creative blurring is called bokeh and can also be applied to objects, not just people. It can be used to isolate people or objects from the foreground or background (subject separation) and thus emphasise them.
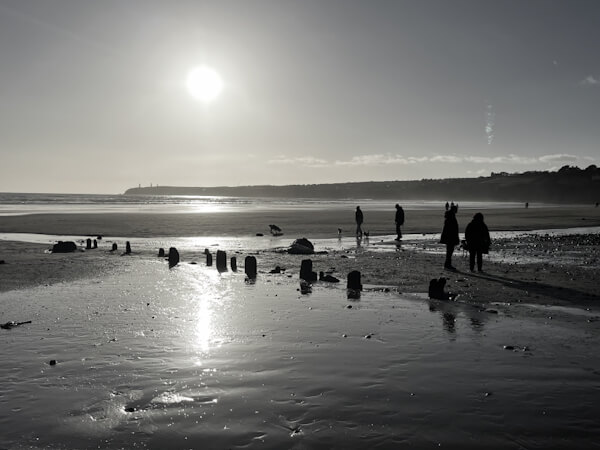
For example, an open aperture is 1.4, a medium aperture would be 5.6 and a relatively closed aperture would be 16.
Portrait photographers like to work wide open, i.e. 1.2-2.0 for a nice bokeh, reportage photographers tend to use 2.8-4 so that the subject can be emphasised but the background can still be recognised, because it is often also about the place where the person is and what they are doing there (context).
Landscape photographers usually use apertures 8-16 for maximum sharpness over as large an area as possible so that the entire landscape is sharp. The depth of field continues to increase with wider apertures, but the sharpness decreases again.
Most lenses have the best sharpness performance in the medium aperture range, i.e. neither fully open nor fully closed.
The Shutter Speed
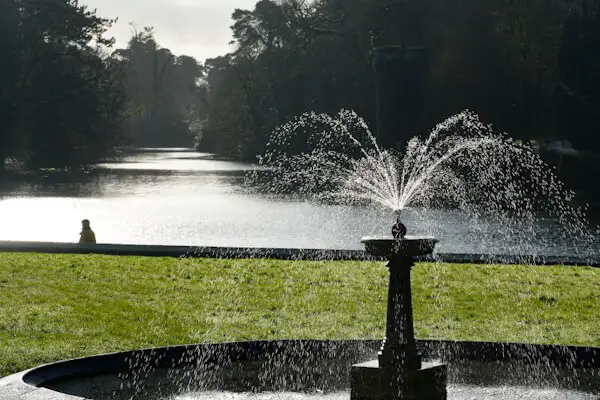
The shutter used to be a mechanism that limited the time in which light fell on the film – and the time was adjustable. Today, these mechanisms are being replaced more by electronics and the film is no longer exposed, but a sensor, but the idea is still the same. How long the light falls on the sensor when taking a photo – you can set that.
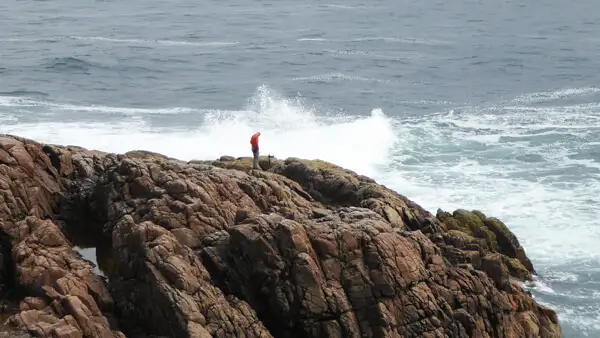
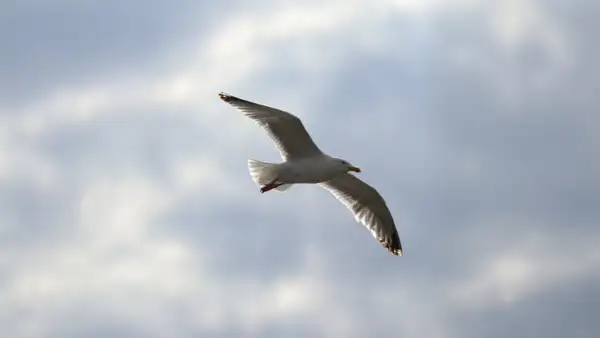
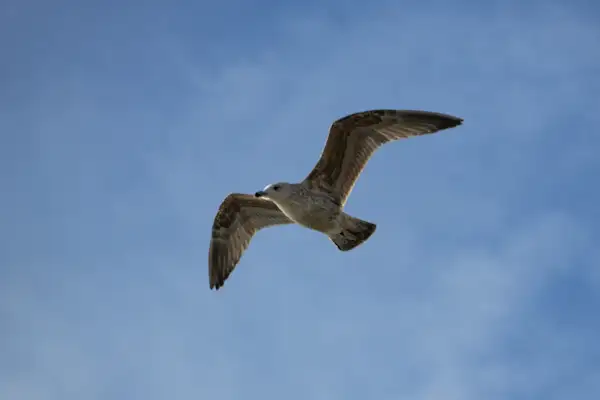
The shutter speed is always used particularly consciously when there is movement in the picture – or in the photographer. With a fast shutter speed you can ‘freeze’ movement, for example a bird in flight photographed at a fast 1/2000 second would probably be completely sharp. The same bird with a slower 1/30 second would probably be quite blurred.
However, you can also use the shutter speed to deliberately create motion blur by deliberately selecting a shutter speed that is ‘too slow’. Take a waterfall, for example: with a fast 1/1000 of a second, you can capture the water droplets individually; with a slower ½ second, you get an image in which the water is no longer sharp, but appears to be softly flowing. You can also take long exposures of moving cars in the city to create streaks of light as a creative element.
Whilst it is no problem to use arbitrarily fast shutter speeds for your hand-held photo, it is a problem to take very slow shutter speeds hand-held, as your own movements will cause the image to blur at some point.
The built-in stabilisation of the camera and lens will help to a certain extent, but beyond that you will need a tripod to keep the camera steady during the exposure.
The ISO value
With analogue cameras, the ISO was a measure of the light sensitivity of the film. A 100 ISO film could be slightly overexposed or underexposed, but that was it. If you wanted more sensitivity, you had to buy a 200 ISO or a 400 ISO roll of film.
However, the photos from the 400 ISO film roll were grainier than the much clearer images from the 100 ISO film roll. More light sensitivity therefore usually has a negative effect on image quality. That’s why we ALWAYS had to use a flash back then to take photos indoors.
Today’s digital camera sensors are many times more sensitive to light than the earlier film rolls. Taking photos indoors or at dusk is no longer a problem (without flash).
Personally, I have no problem shooting up to ISO 6400 or more and still get good pictures. But at some point, the quality of the images deteriorates even with good sensors and the image becomes ‘noisy’, showing digital noise and appearing muddy and grainy.
I rarely set the ISO on my camera myself, but I keep an eye on it so as not to get too high with the value – let’s take a look at how to do that now:
The Exposure Triangle
With the aperture, shutter speed and ISO, you can control how much light falls on the image sensor and therefore also whether the image becomes darker or brighter afterwards, or how much light the bright or dark parts of the image receive.
So there is not just one setting option for this, but three. All three together are called the exposure triangle. You can use this to set your desired image effects (as discussed above), but the three also influence each other:
If you set a fast shutter speed, you may need a wider aperture or a higher ISO to allow enough light to reach the sensor.
If you prefer a closed aperture, the shutter must be slower or the ISO higher so that enough light falls on the sensor.
If you prefer an open aperture, the shutter must be faster and/or the ISO low so that not too much light falls on the sensor.
And if you want to use a slow shutter speed, the aperture may need to be closed further and the ISO low so that not too much light falls on the sensor.
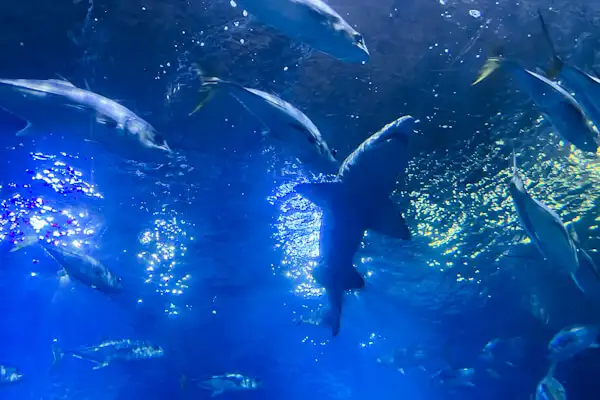
Is that clear so far? Don’t worry, there are also automatic programmes on the mode dial:
Automatic Program Modes for exposure
P stands for programme mode or programme automatic and controls all three parameters as evenly as possible.
A stands for Aperture Priority or aperture preselection: You select the desired aperture, the camera controls the shutter speed and ISO for you.
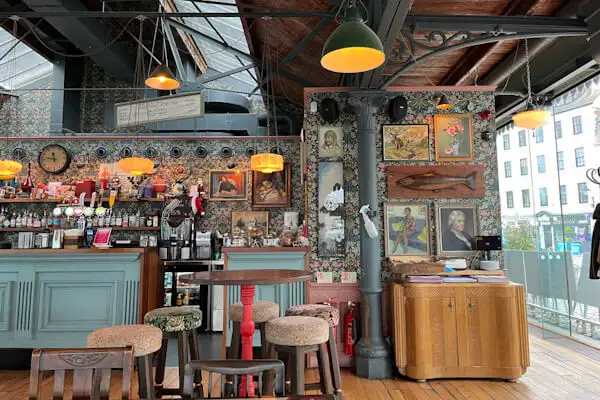
S stands for shutter priority or shutter speed preselection: You select the desired shutter speed and the camera sets the aperture and ISO for you
M stands for Manual, i.e. you set the aperture and shutter speed and the camera sets the ISO for you. And then you can also choose to set the ISO yourself, in which case the camera only shows you suggestions, but you control your exposure completely yourself.
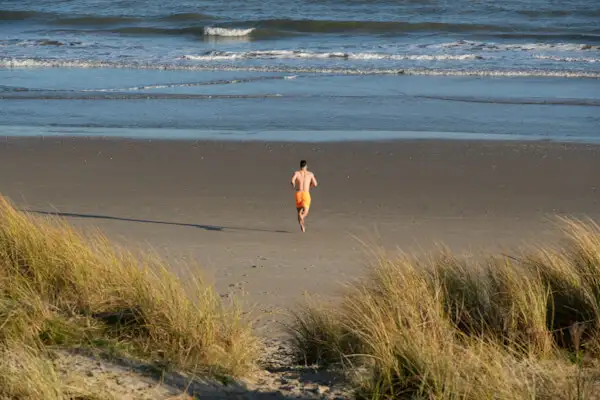
You can see the result in the finished photo on the camera and can adjust it again and again for further photos.
The good news about exposure: you can darken bright areas and lighten dark areas in post-processing, but there must be enough information in the image for this, so the image must be ‘correctly’ exposed.
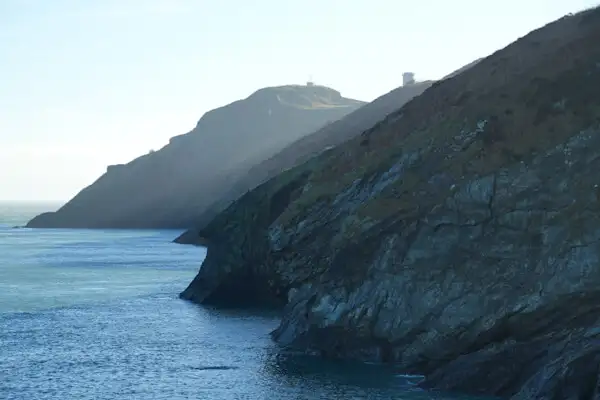
If the shadows are only black or the bright areas are only white, then you may have underexposed in the first case and overexposed in the second. However, this can also be intentional, so there is actually no ‘correct exposure’, but ultimately the one you want.
To help you, there are curves that you can superimpose on the display. This allows you to judge in advance how your exposure will turn out, especially in very light and very dark areas, but that’s too much for this article…
Focusing and Auto-Focus
In the past, all lenses were manual and the focus was adjusted by turning the focus ring. One or more optical aids in the camera helped to better judge the sharpness.
Today, all modern cameras have autofocus – the lenses focus themselves. You can still switch to manual and adjust the focus by hand and there are electronic aids to help you do this.
This can still make sense: In star photography, when the autofocus has a hard time focussing on the stars, in macro photography, where you want to focus on a very specific point, in landscape photography, where you want to determine where your focus point is, in portrait photography, if you want to, or whenever the autofocus is easy to confuse, for example when you want to photograph something in the background through plants.
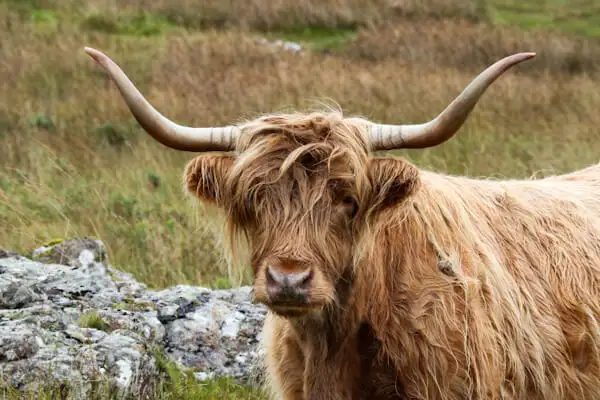
But most of the time you will use the autofocus, because it is much faster than you can be. This is especially true for wildlife, sports and action photography, where objects move quickly, but also for portrait shoots, when your camera’s eye autofocus works quickly and reliably.
There are different autofocus modes for different shooting situations. This allows you to determine where and how the autofocus should be measured:
You can select a point in the centre that you can move anywhere in the image using the joystick or your finger on the screen. You can select a specific area within which the autofocus should measure or you can select the entire image area within which the autofocus decides for itself (as with a smartphone).
The more you want to determine where the focus should be in the image, the smaller and more specific your measurement area must be.
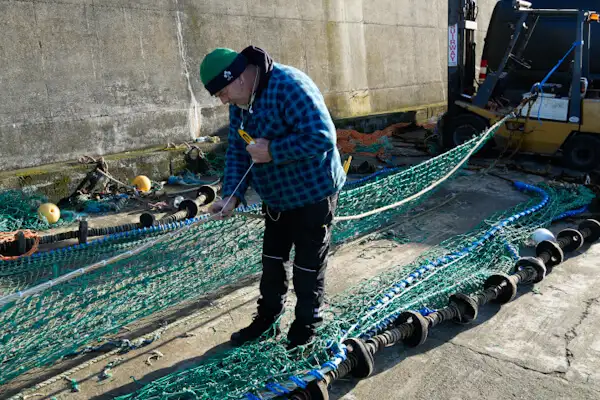
Object Tracking and Autofocus
There are also object detection functions that help you specifically with people or animal photography. For example, you can set the autofocus to search for people or animals (or cars or aeroplanes) in the image and then focus on them. And for portraits, you can set the autofocus to focus on the person’s eye and not elsewhere.
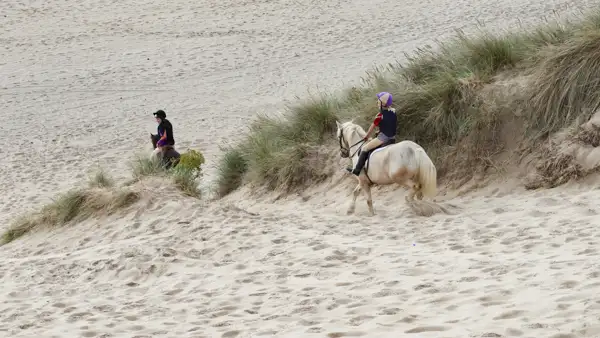
And you can also combine the two. For example, I like to use a small focus point in the centre of the image in conjunction with automatic person detection. If there is no person, the camera focuses in the centre of the image (I can also move the point), if it detects a person, it focuses on the person and then on the eye. That’s pretty cool, isn’t it?
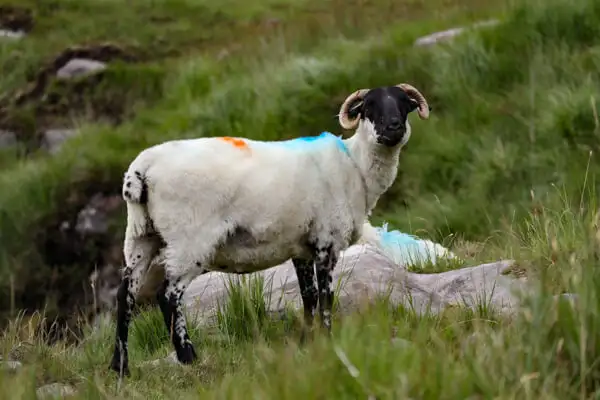
Almost forgot: You can also choose between single-frame autofocus and continuous or tracking autofocus. I usually use the former for single images, which I mainly take. So focus once, release, done.
If you want to take continuous shots, for example in sports or wildlife photography, then you need continuous autofocus, which repeatedly adjusts the focus while the subject continues to move. You can also set how many continuous shots you want to take per second – modern cameras have become extremely fast.
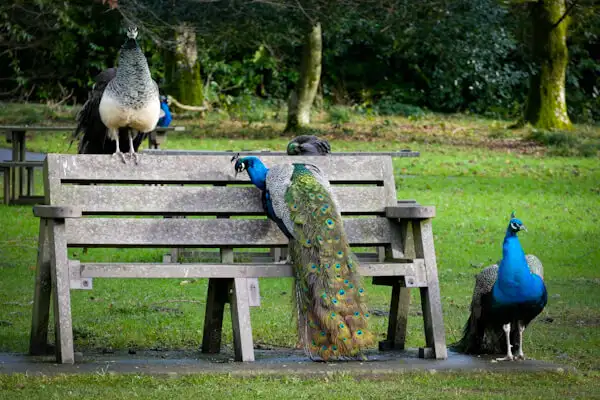
And now I have another tip: for God’s sake, switch off the beeps when focussing. Nobody in your neighbourhood is happy about constant beeping and ringing! Incidentally, you can switch off the beeps separately from the shutter selection. The mechanical shutter will still make a restrained clicking sound, but with the electronic shutter, photography will be completely silent.
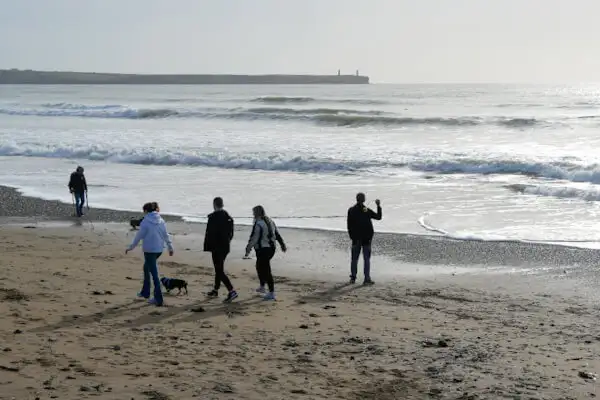
Image Formats
You can set how you want to save your image in the camera. For beginners, I recommend the JPEG format, which you can also get with most smartphones and it is a finished image. You can then set the file size from ‘small’ to ‘medium’ to ‘fine’. ‘Small’ means a simple image with little storage space and “fine” means higher image quality and a larger file volume, i.e. more storage space.
If you are ready to edit all your photos in software (such as Lightroom, Photoshop or Luminar) anyway, then you can also select maximum quality and shoot your photos in RAW format.
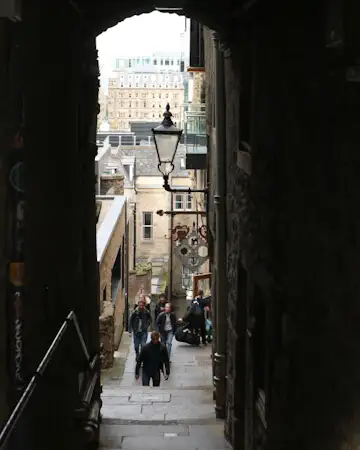
Then you save the most image information, create the largest files and can post-process them to the greatest extent. But you have to, because a RAW is only a half-finished image that you can’t do anything with if you don’t edit it.
I’ve tried RAW, but I don’t need the image quality I can achieve with it and I personally don’t like the oversized files. A lot of professionals work a lot with RAW, and a lot of advanced amateurs do too. Personally, however, I usually don’t.
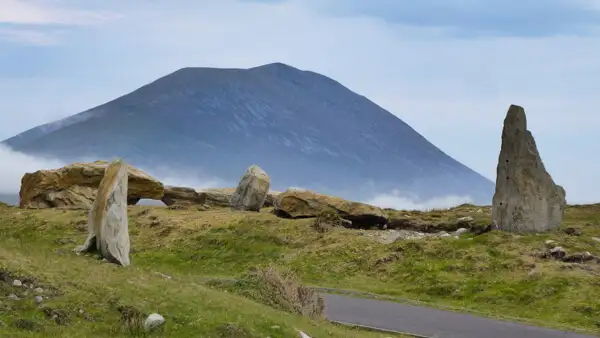
I therefore mostly use ‘JPEG-fine’ as my image format and only edit my images minimally in Lightroom. And I believe that the JPEG format will also suffice for many other amateurs for a very long time.
Colours Contrast and Presets
Your smartphone usually decides the colours and contrasts for you. These are usually highly saturated colours and strong contrasts because the photos then look ‘crisper’ on the small smartphone displays. You can also work with filters and some smartphones also offer the option of adjusting the colours individually in the smartphone, which probably not many people use.
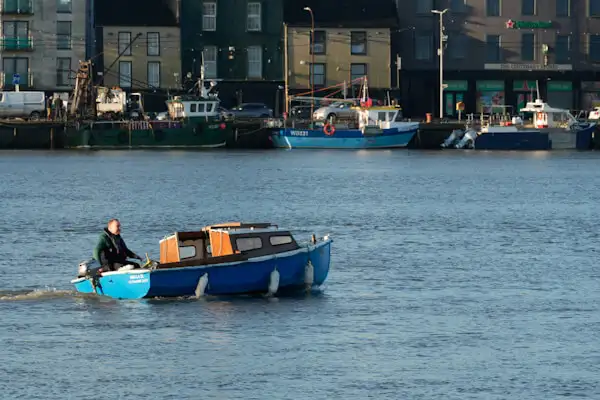
With the camera, you have the option of making very detailed adjustments to how your image should look. Lighter, darker, more or less contrast, more or less colour, more or less emphasis on individual colours, etc…
If you are not post-processing, it can make sense to use these options. However, the many settings are often confusing for amateurs. Fujifilm recognised this years ago and offers image recipes in its cameras that you can apply to your JPEG image like a filter. However, you select your recipe before taking the picture and then all subsequent pictures have the same style.
As I personally edit all my images in Lightroom, I make all my changes there first, not in the camera. But it’s a trend on the market to select the image styles in the camera and save yourself the post-processing.
Conclusion
So, I think we’ve covered the most important things for now. There’s more, but it’s getting too much now. If you can adjust your exposure, your sharpness and perhaps also your colours in camera, you’re already further ahead than most people will ever get.
Above all, however, you already have many creative options at your fingertips with which you can take your photography to a new level.
I wish you lots of fun with it!
More interesting articles for you
Black and white travel photography
Better travel photos in poor light
Street and city photography – basics for travelling
Traveling landscape photography – basics
Picture credits cover picture: Uli’s camera (Photo: Ulrich Knüppel-Gertberg)